
Quick Answer
Weekend Project: Build a Backyard Putting Lane for Under $180: A true outdoor backyard putting lane build under $180, including site prep, drainage, anchoring, weather durability, and practical training structure.
- Category: How-To
- Read Time: 4 min
- Best Use: Apply this as your first decision framework, then validate with your own data.
This build is for an outdoor backyard putting lane, not an indoor mat corner. The goal is a weather-tolerant setup that drains, stays flat, and gives you reliable roll for daily practice without a full custom green budget.
Project Goal: Outdoor Lane You Can Leave Set Up
You are building a narrow outdoor putting lane for repeatable drills in real weather conditions. This design prioritizes:
- Drainage: no puddling after rain.
- Surface stability: minimal ripples and seam movement.
- Durability: UV and moisture tolerance.
- Practice value: measurable 3/6/9-foot reps.
Outdoor Materials List (Budget-Conscious)
Comparison Table
| Item | Real Product Image | Typical Price | Outdoor Use |
|---|---|---|---|
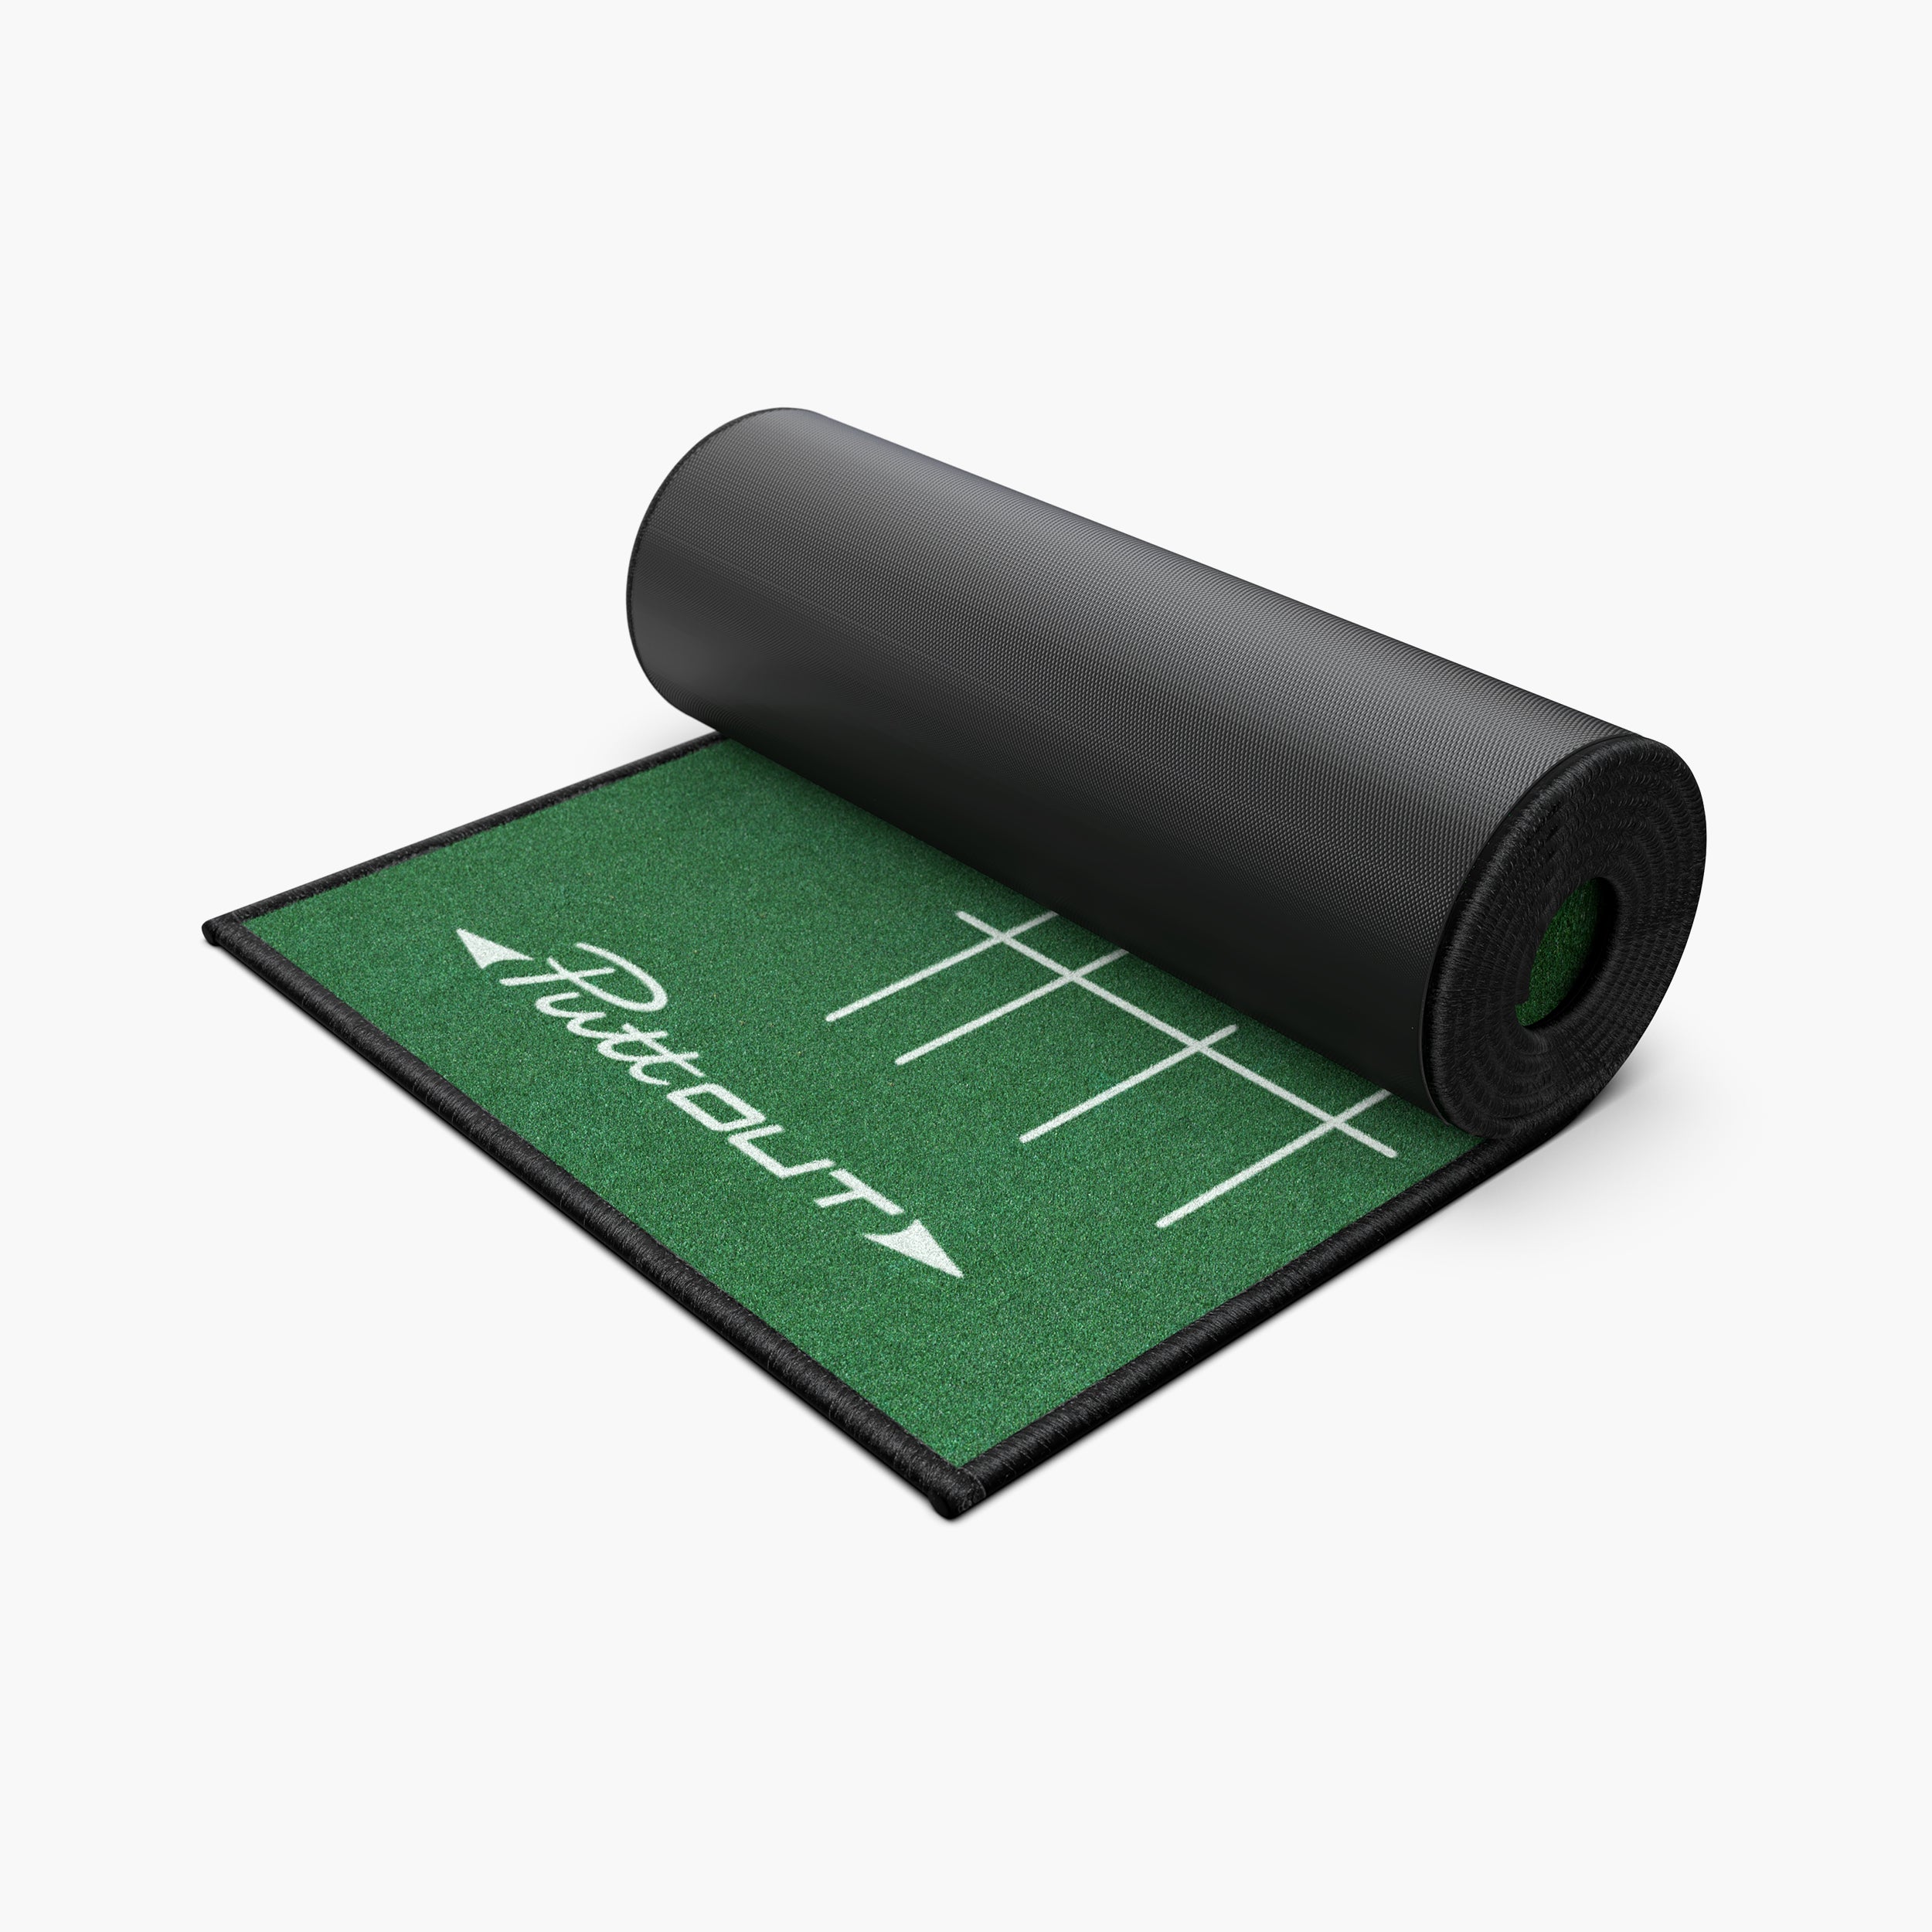
| Outdoor Putting Surface (8-10 ft) | |
$60-$100 | Primary roll surface |
| Alignment + Setup Mirror | 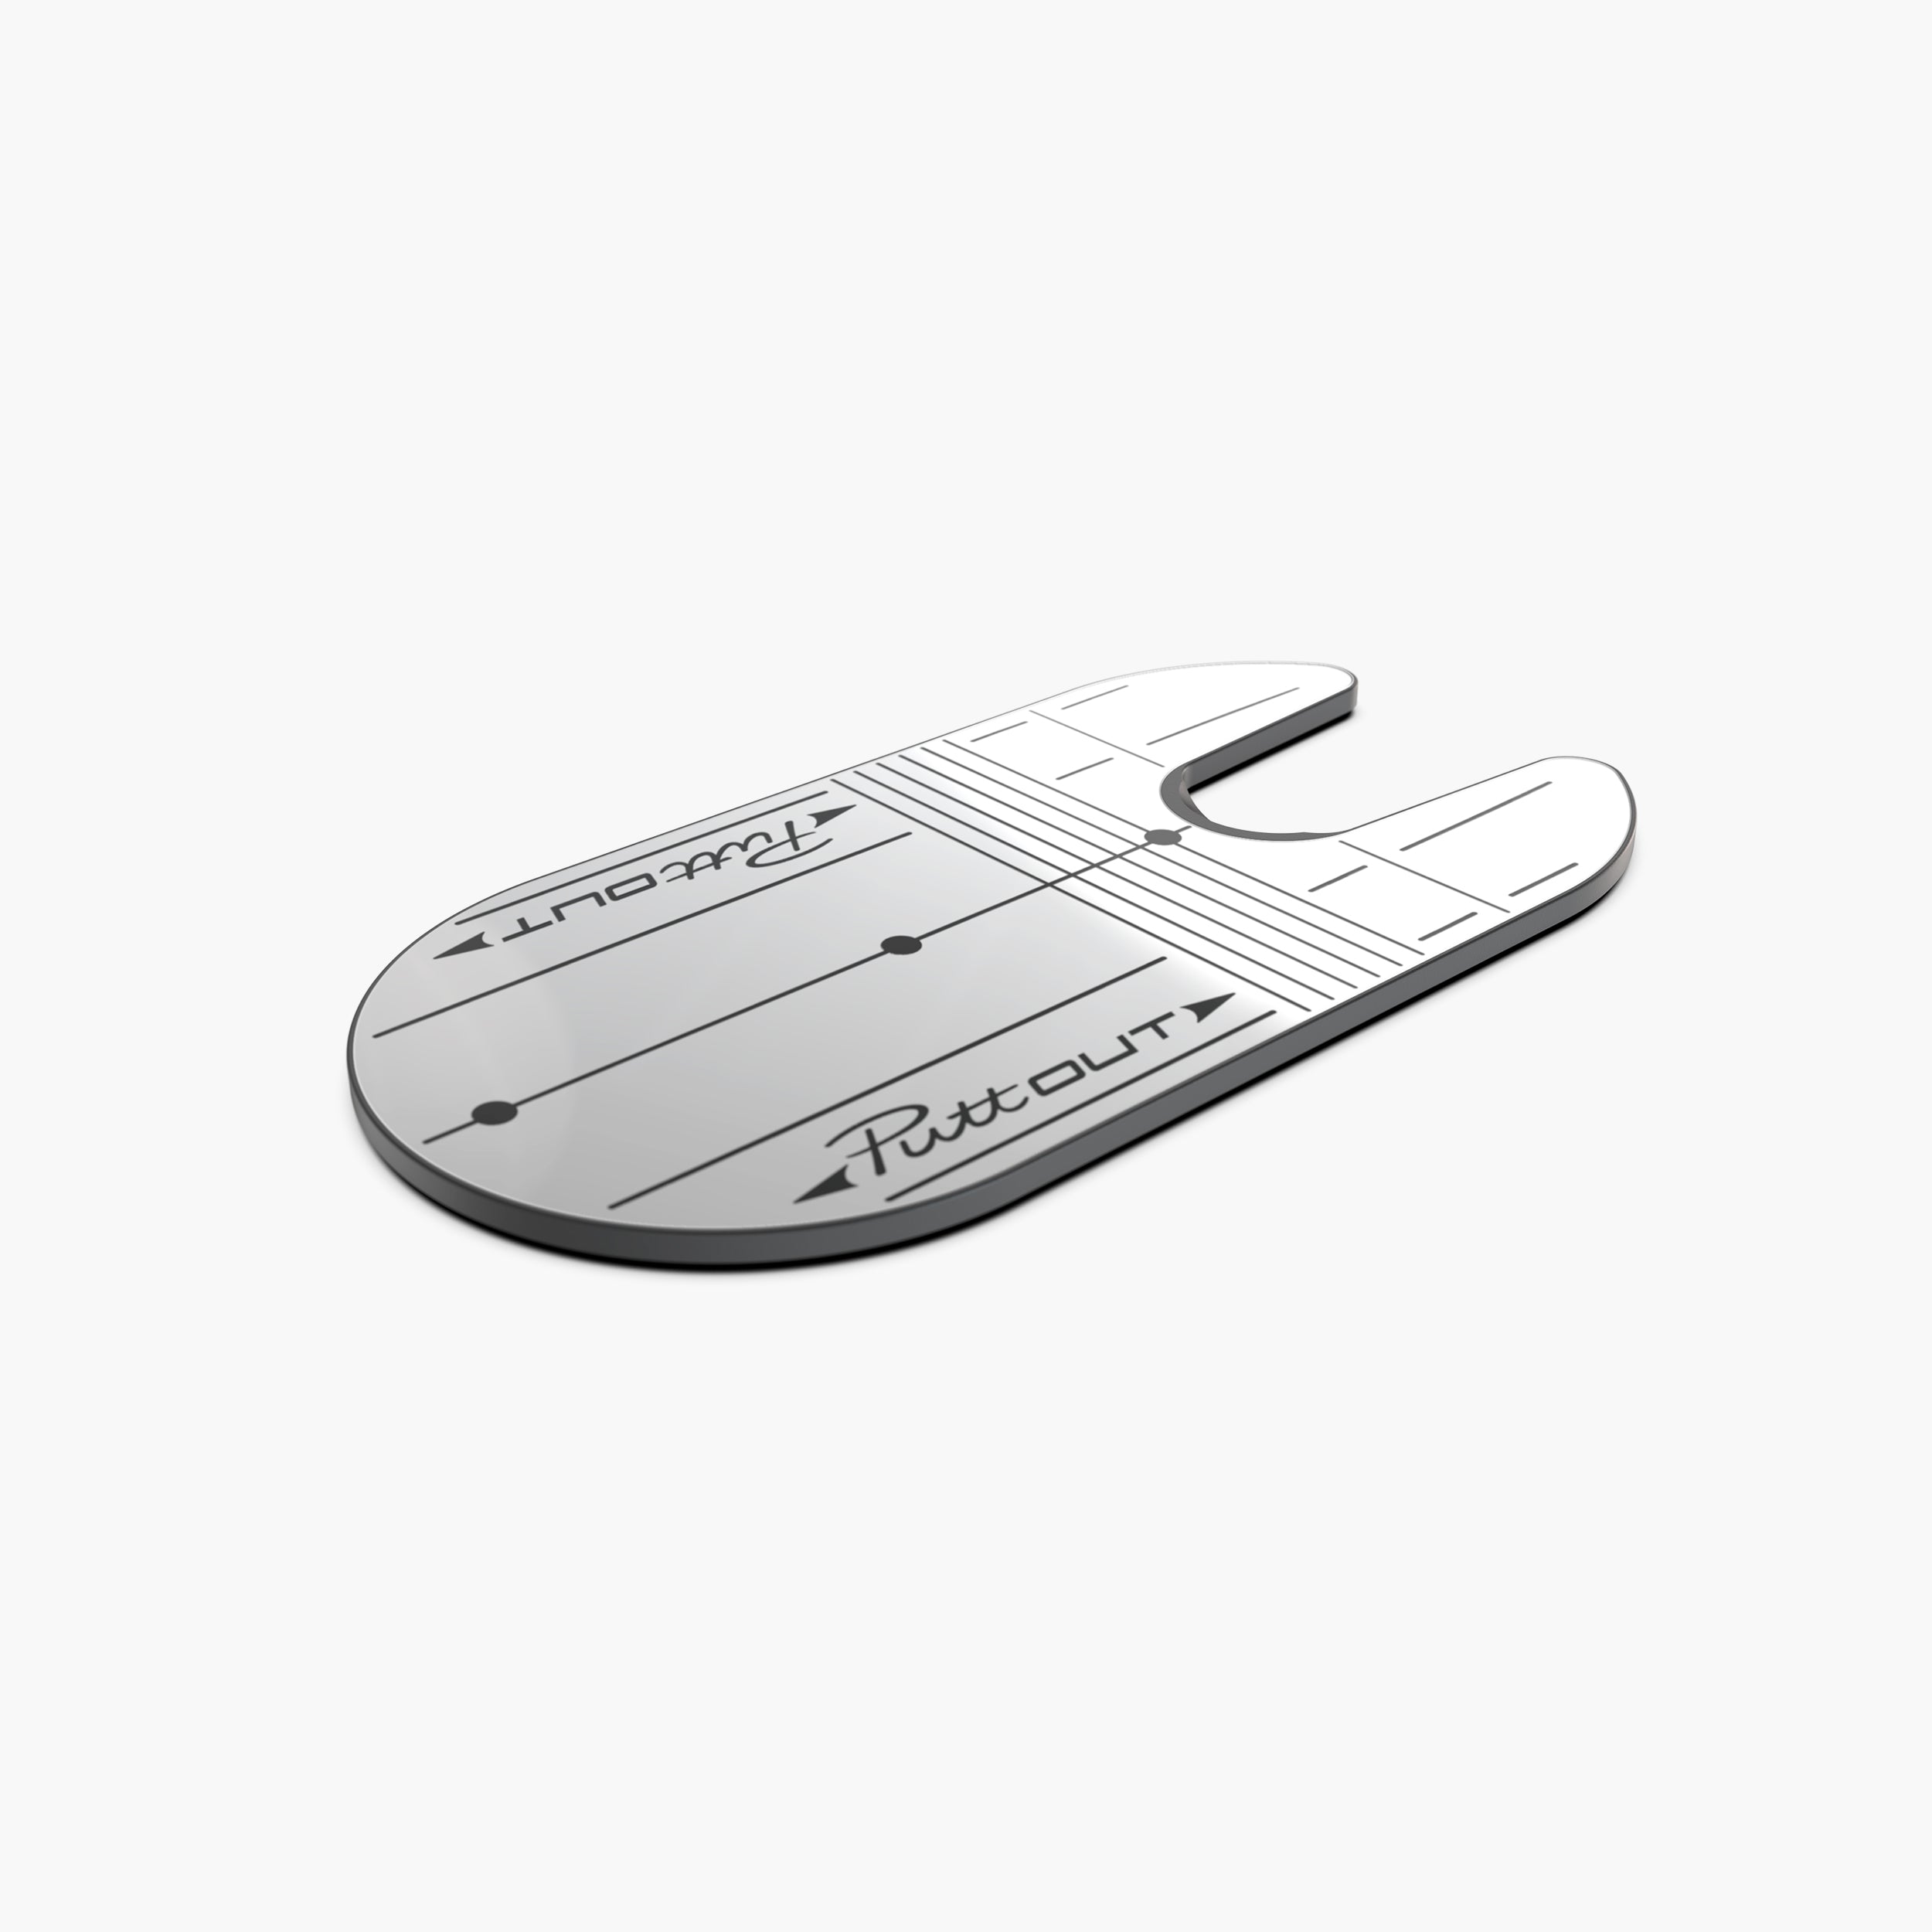 |
$15-$25 | Square setup and face awareness |
| Start-Line Gates | 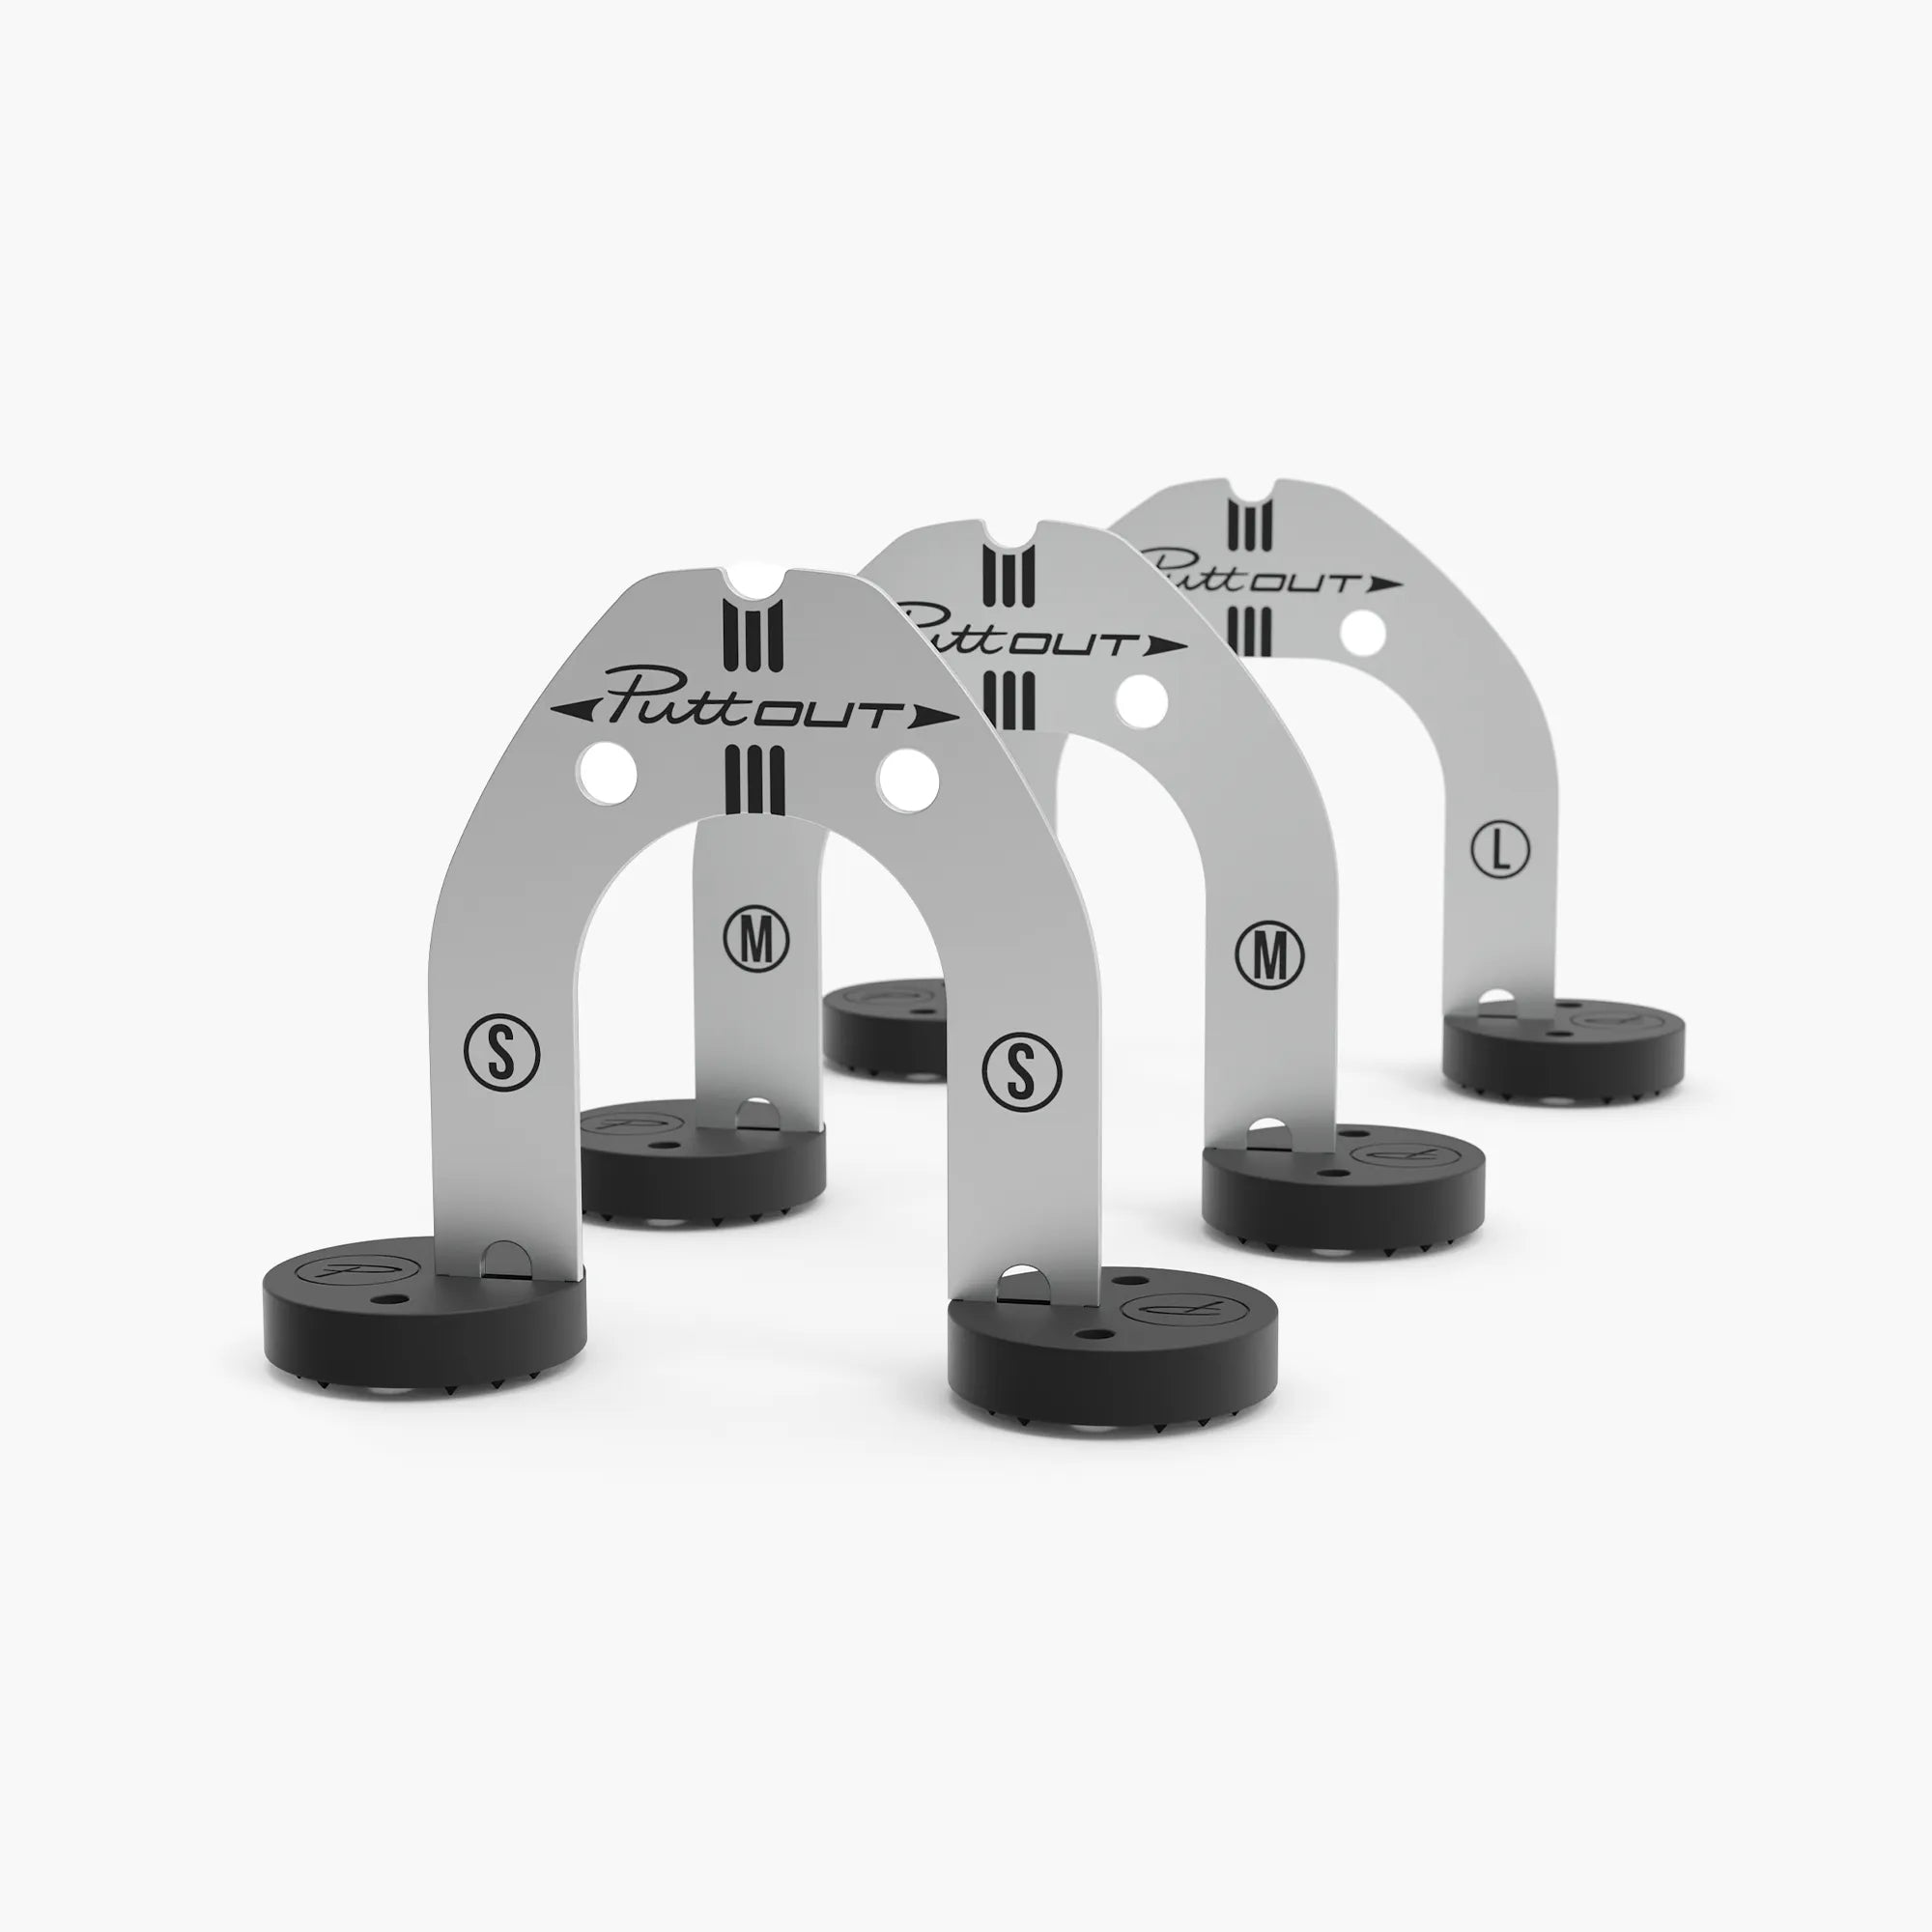 |
$25-$35 | Gate-based launch control |
| Pace-Control Target |  |
$20-$30 | Distance and capture-speed training |
Site Prep (Most Important Step)
Step 1: Pick the lane location
Choose a relatively flat strip with good runoff. Avoid low pockets that collect rain. Morning shade + afternoon sun is ideal for material longevity.
Step 2: Strip and level
Cut grass tight, remove rocks, and flatten high spots. A 1-2% gentle slope is acceptable for drainage, but avoid side-slope tilt across the lane.
Step 3: Install weed barrier
Lay landscape fabric first and staple it. This keeps growth from pushing uneven bumps into your putting surface over time.
Lane Installation (45-60 Minutes)
Step 4: Position the putting surface
Lay your turf/mat centered over the prepped strip. Let it settle for 15-20 minutes in the sun before final anchoring so wrinkles relax.
Step 5: Anchor perimeter
Use landscape staples every 18-24 inches on long edges and tighter spacing at corners. Anchor enough to resist wind lift but avoid over-tension that warps roll.
Step 6: Add cup/target and checkpoints
Place your cup or pressure trainer at one end. Mark 3, 6, and 9 feet with outdoor-safe markers so sessions stay consistent.
Outdoor Practice Plan
Use short daily blocks that mirror on-course pressure:
- 3 feet: 20 reps, must-make focus
- 6 feet: 15 reps, start-line + pace
- 9 feet: 10 reps, distance control window
Track makes and “good pace” rolls. Outdoor surfaces change slightly with weather, and this teaches adaptable touch.
Maintenance for Year-Round Backyard Use
- Brush debris off weekly to keep roll true.
- After heavy rain, check anchor points and edge lift.
- In high heat, inspect for seam movement and re-staple corners.
- Rotate target location occasionally to avoid wear spots.
Common Outdoor Build Mistakes
- Mistake: Installing on unprepped grass.
Fix: Level and barrier first. - Mistake: Too few anchors.
Fix: Staple perimeter at consistent intervals. - Mistake: Ignoring drainage slope.
Fix: Prioritize runoff over perfectly level aesthetics. - Mistake: No maintenance schedule.
Fix: Weekly 5-minute inspection and brush.
Instruction Takeaway
A backyard putting lane works only if it is built like an outdoor setup: prepped base, anchored edges, drainage awareness, and weather-tolerant materials. Build it once, maintain it lightly, and you will get consistent reps without resetting every session.
Product Sources
- PuttOUT Large Putting Mat
- PuttOUT Compact Mirror
- PuttOUT Pro Putting Gates
- PuttOUT Pressure Putt Trainer
What This Means for Your Game
Weekend Project is not just a headline topic. It has direct impact on your next purchase, setup, or on-course decision. We added this section to give you practical, reader-first context in plain language.
At USAGolfMagazine, we prioritize verifiable detail and step-by-step improvement context. That means comparing tradeoffs, identifying who a recommendation helps most, and showing where fit, budget, or conditions can change the best answer.
Quick Practical Checklist
- Define your primary goal before you copy anyone else’s setup.
- Match choices to your actual swing speed, strike pattern, and course conditions.
- Use one consistent benchmark so comparisons stay fair and repeatable.
- Keep notes after rounds so your next adjustment is based on evidence.
If you apply this framework, your decisions around Weekend Project become clearer, faster, and more repeatable. The goal is not one perfect answer for everyone. The goal is finding the best fit for how you actually play.
As always, revisit this guide after a few rounds and update your plan based on results. Small, measured changes usually beat dramatic overhauls, especially when your objective is long-term consistency.
FAQ
What is the fastest way to apply this lesson?
A true outdoor backyard putting lane build under $180, including site prep, drainage, anchoring, weather durability, and practical training structure.
How often should I practice this move?
Practice in 2 to 3 focused sessions with measurable checkpoints, then keep only the move that holds up under on-course pressure.
What mistake slows progress the most?
Trying to fix everything in one session. Keep one priority and one feedback drill until contact and start line stabilize.