Quick Answer
How to Stop Early Extension: 5 Drills to Keep Posture and Compress Irons: A practical drill-based guide to stop early extension, keep pelvis depth, and compress irons with repeatable contact and distance control.
- Category: How-To
- Read Time: 4 min
- Best Use: Apply this as your first decision framework, then validate with your own data.
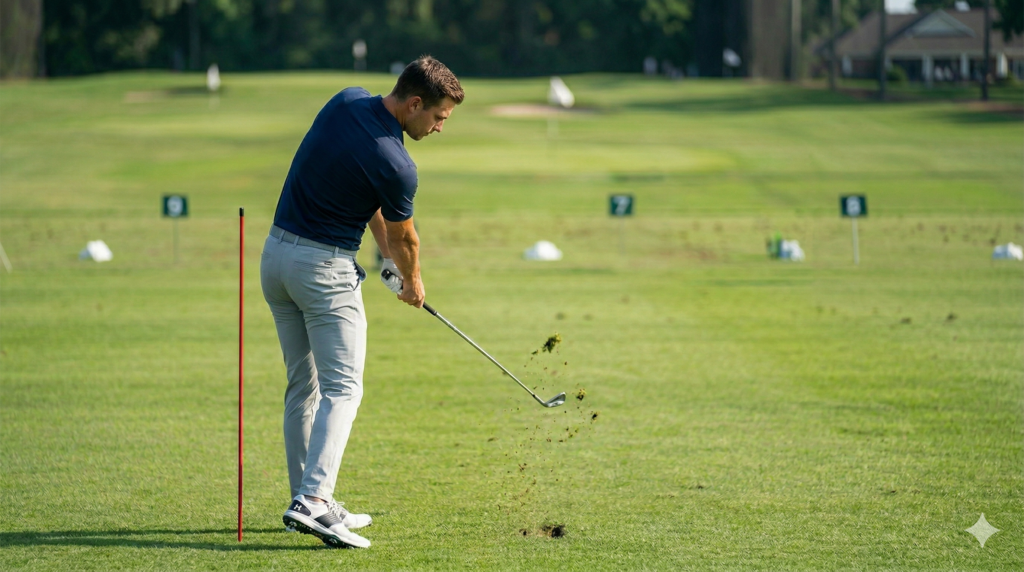
Good iron players look balanced through impact. Golfers fighting early extension usually feel the opposite: hips crowd the ball, chest stands up, and contact bounces between heavy and thin.
The fix is not one magic move. You need a sequence that keeps your pelvis back, your chest covering the ball, and your pressure moving correctly into lead-side rotation.
Why Early Extension Costs You Distance and Strike Quality
Early extension happens when your pelvis moves toward the golf ball in transition and through impact. That changes low point, steepens shaft delivery, and forces last-second hand compensation. You lose centered contact and face stability at the same time.
Think of impact like a doorway: your hips rotate around space, they do not slide into it. When you preserve that space, the club can shallow, the handle can lead, and compression becomes repeatable.
The Gear Bag
- Alignment stick: Pelvis-depth and path reference.
- Range basket or foam block: External feedback behind your hips.
- Smartphone (slow motion): Face-on and down-the-line checkpoints.
- Mid iron (7 or 8 iron): Best club to train contact before moving to long irons.
Five Drills That Fix Early Extension Fast
1) Set Hip Depth at Address
Place an alignment stick lightly touching your glutes at setup. Keep both glutes in contact during your backswing coil. This creates awareness of pelvic depth instead of vertical stand-up.
Hit 10 half-swings at 60% speed with this only as a feel rehearsal. Your goal is quiet pelvis depth, not distance.
2) Keep Your Chest Over the Ball in Transition
Start your downswing by shifting pressure into your lead foot while your chest stays pitched forward. Feel your sternum cover the ball as your arms shallow behind you.
If your shirt buttons point up too early, you are extending. If they stay down through lead-arm parallel, you are on track.
3) Rotate Around the Lead Hip, Don’t Slide Into the Ball
Place a range basket behind your hips and make three rehearsals where your lead hip turns back and around, not toward the ball. Then strike one ball at 70% speed.
Use a 3:1 rep ratio: three rehearsals, one shot. This keeps the move athletic while locking in geometry.
4) Control Handle Delivery with a Split-Hand Drill
Grip with your trail hand two inches lower than normal and make waist-to-waist swings. Keep shaft lean at impact while your pelvis stays back.
This teaches you to maintain posture while delivering the clubhead after your body rotates, not by flipping from a standing-up pattern.
5) Build to Full Swings with a Contact Ladder
Hit five balls each at 50%, 65%, 75%, and 85% effort. Move up only when contact stays center-face and divots start just ahead of the ball.
If you lose posture at any stage, drop one level and rebuild. Speed should be earned by strike quality.
Pro Tip
Through impact, feel your belt buckle turning left while staying the same distance from the ball. This single cue blends rotation and depth and prevents the crowding move that ruins compression.
Common Mistake
Many players try to hold lag aggressively, then stand up to avoid chunking. Lag is a result of sequencing, not a separate action. Prioritize depth and rotation first; shaft lean will show up naturally.
10-Minute Practice Plan
- Minute 1-2: Hip-depth rehearsals (no ball).
- Minute 3-5: Drill 1 + Drill 2 with half-swings.
- Minute 6-8: Drill 3 + Drill 4 at 70% speed.
- Minute 9-10: Drill 5 contact ladder.
Track one metric each session: center-strike rate out of 20 shots. When that metric rises, your posture pattern is improving.
Take It to the Course
On the first three iron shots of a round, commit to one thought only: rotate around space, not into it. Keep your pre-shot practice swing short and posture-focused.
When your pelvis stays back and your chest stays down, your low point stabilizes. That is how better compression and tighter front-to-back control become repeatable under pressure.
Related: Instruction section
FAQ
What is the fastest way to apply this lesson?
A practical drill-based guide to stop early extension, keep pelvis depth, and compress irons with repeatable contact and distance control.
How often should I practice this move?
Practice in 2 to 3 focused sessions with measurable checkpoints, then keep only the move that holds up under on-course pressure.
What mistake slows progress the most?
Trying to fix everything in one session. Keep one priority and one feedback drill until contact and start line stabilize.